3 tips for perfect freezer paper piecing
I use freezer paper piecing to get these perfect points!
First, I adore freezer paper piecing! For the spatially challenged (um, me) it is much easier than regular paper piecing because you do not flip and reorient the paper as you are working. Your folded paper stays folded and your fabric stays in place. Then, there is the huge time saver of not having to tear out the paper. So, when I was writing my Gold Medal Quilt pattern, I knew I wanted to incorporate this awesome technique. The pattern includes a full tutorial on the method so I won’t repeat that here, but I thought I would elaborate on some tips to make this method even easier!
1. Folding is key.
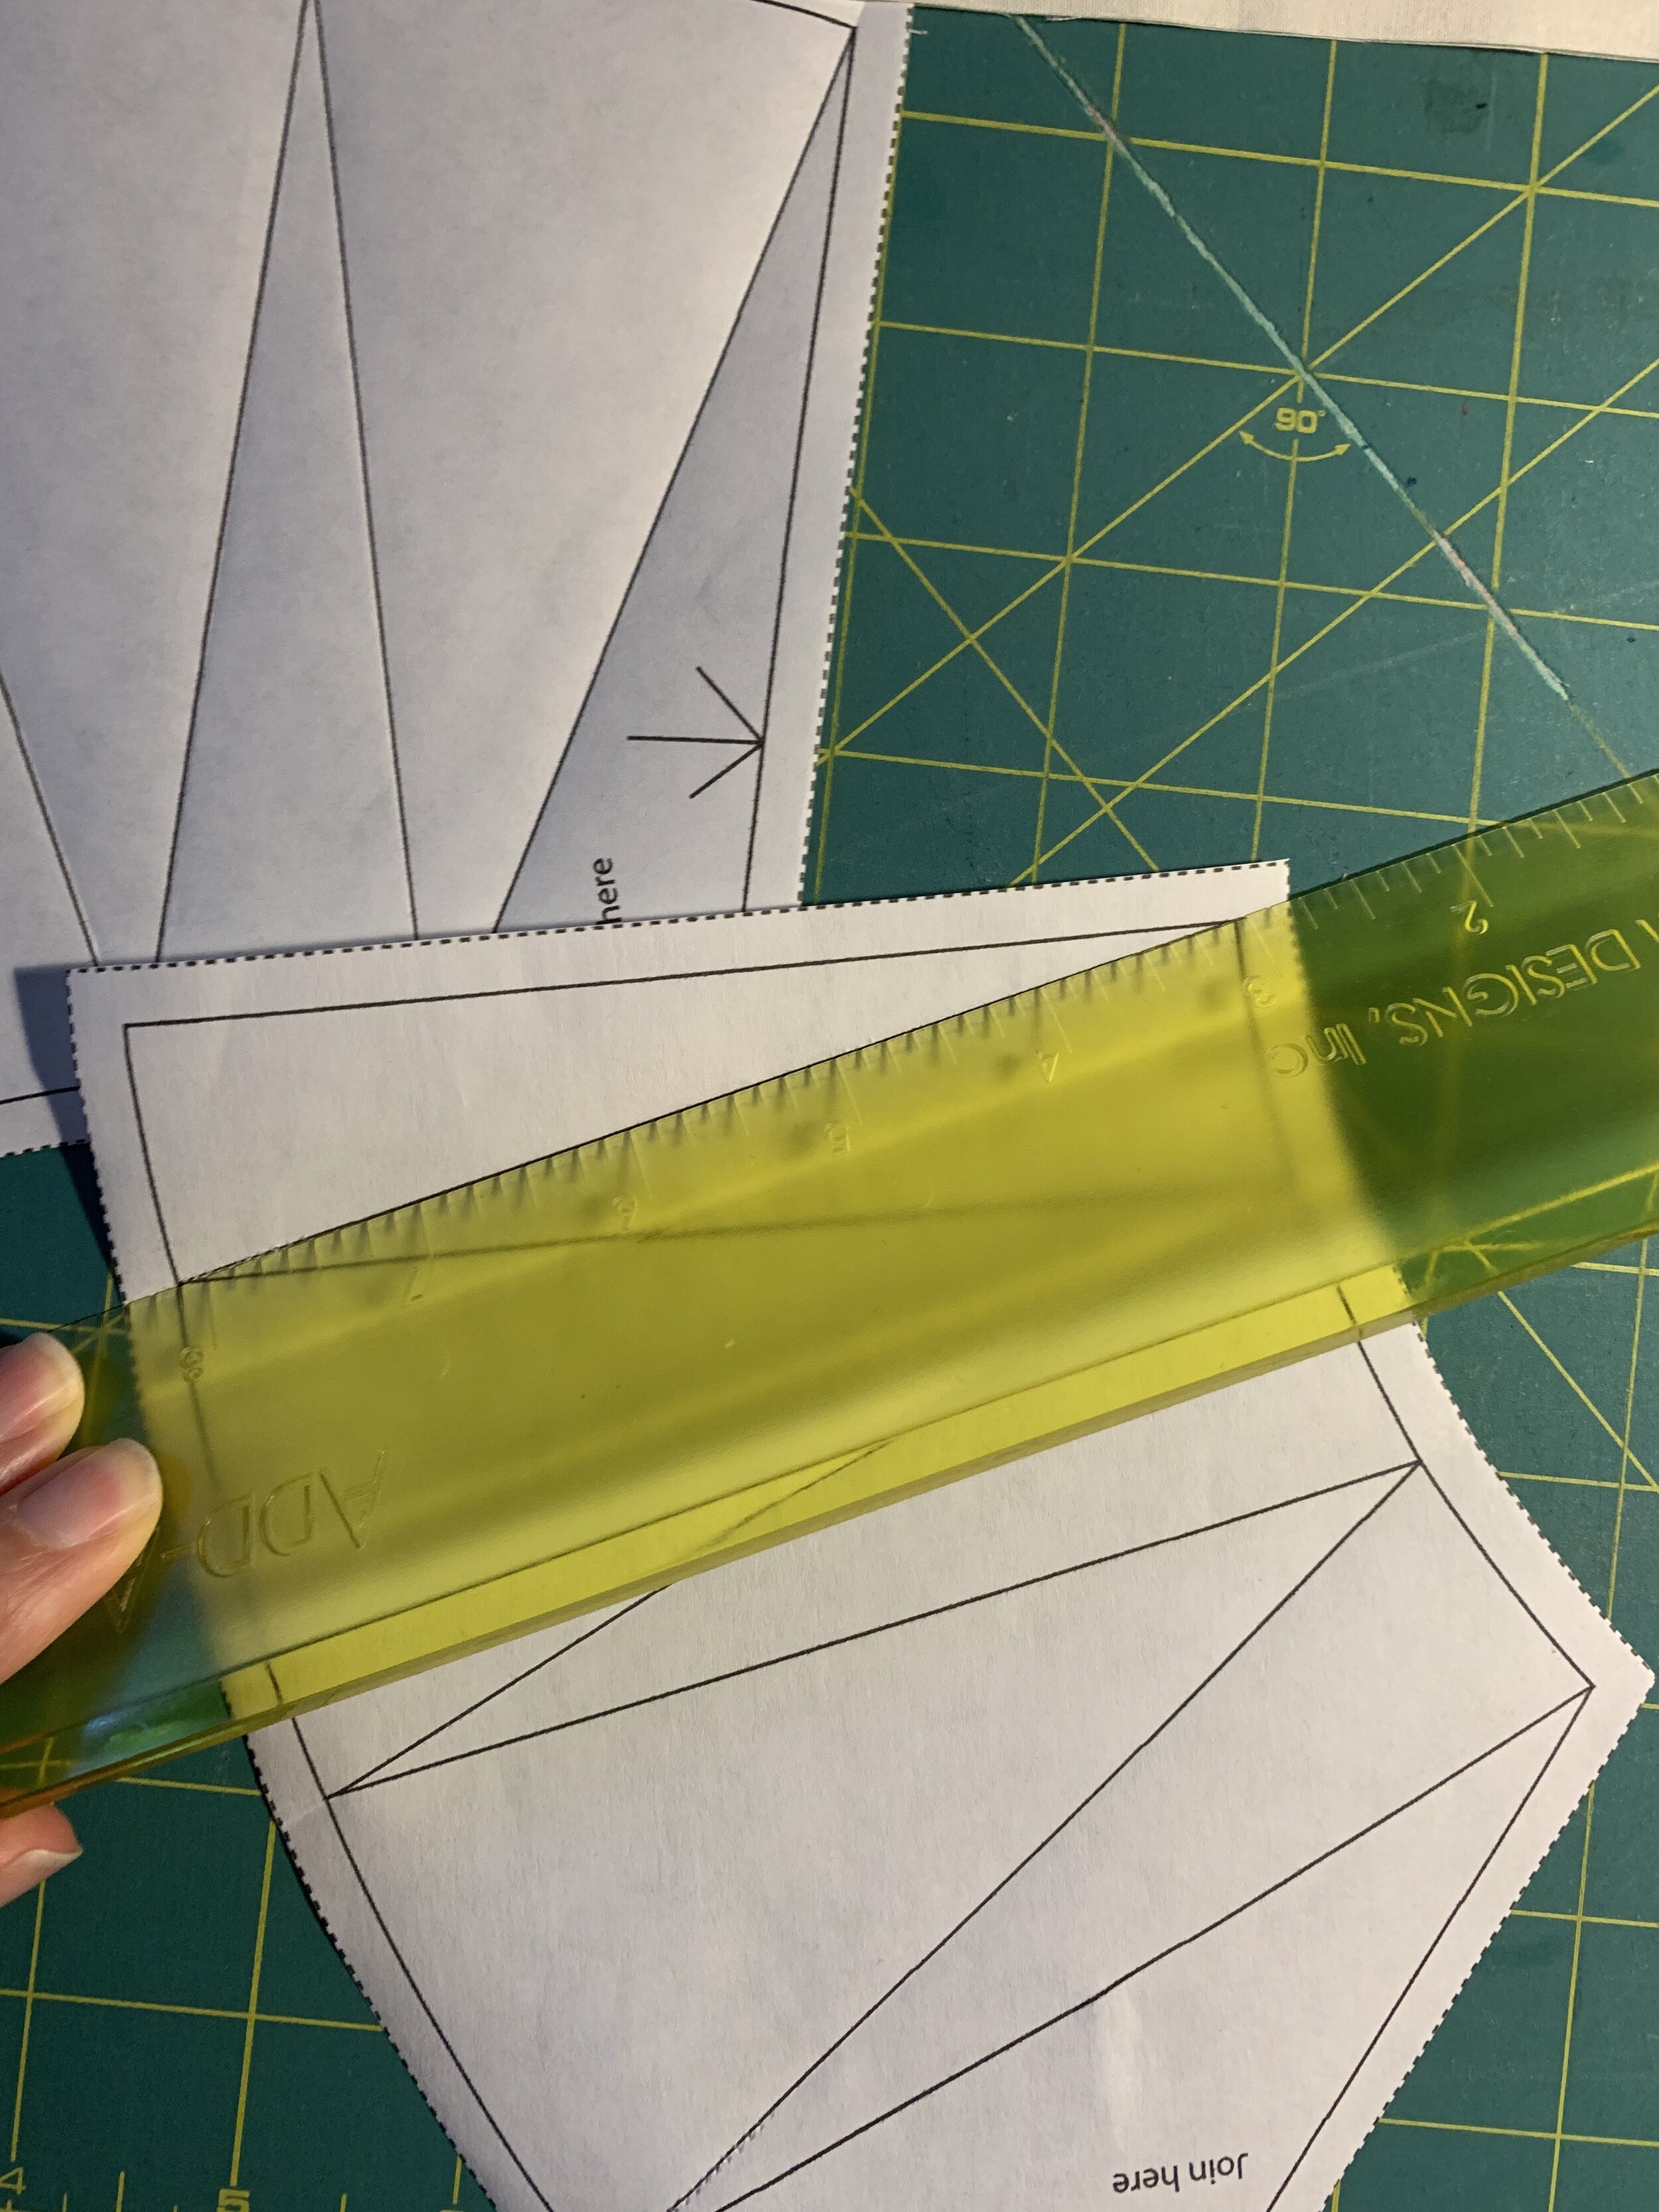
Because you aren’t sewing through the paper on the printed line but sewing right next to the fold, getting that fold exactly on the line is essential. When I made my first New York Beauty blocks for me Gold Medal sample quilt, some of my points weren’t perfect. Although they look fine and I usually don’t get too hung up about perfect, I wanted to know why! Turns out some of my folds were just a little off. The freezer paper is fairly thick so I’ve found that I need to take my time to really get that fold perfectly on the line. First, I place my add-a-quarter ruler’s thin edge right on the printed line and lightly fold the paper up to make a soft crease. Then, with the shiny side facing me, I look through the paper for the printed line as I make a sharper crease. I go slowly and make sure my fold is right on the line. It’s so worth taking the time to get this right, because you will be reusing the paper at least four times. Any mistakes will get repeated across all the blocks you make, or your perfect folds will result in repeated perfection! I also make all my folds before I start piecing so I can really focus on getting the folds just right.

2. Sew right up against the fold.
Again, you’re not sewing through the paper so your perfect fold (see Tip 1!) is your sewing line. I make sure I am sewing in really good light so I can see my needle and the edge of the paper with ease. Before you sew your first line, test where the edge of the paper is in relation to your presser foot when the needle is right against the edge. As you sew, keep an eye on this placement. I find it much easier to look at the paper’s edge and the presser foot than at the needle. My needle makes a satisfying little sound when it bumps right up against the paper. Going slowly also helps!

3. Fitting your fabric.
This is the beauty part of freezer paper piecing. Because you keep your paper folded, it is really easy to know if your fabric will fit when you iron it into place. When you place the next piece of fabric that you are piecing so it aligns with the 1/4” seam allowance of the piece underneath, your paper will be folded on top of the fabric. All you need. to do to make sure your fabric fits is to make sure the entire piece extends 1/4” past your nice, neat fold. In the photo, I’ve placed my ruler along the edge of the fabric so you can see that it has plenty of room past the fold. If you are working with prints, your print will be right side up when you are positioning it.
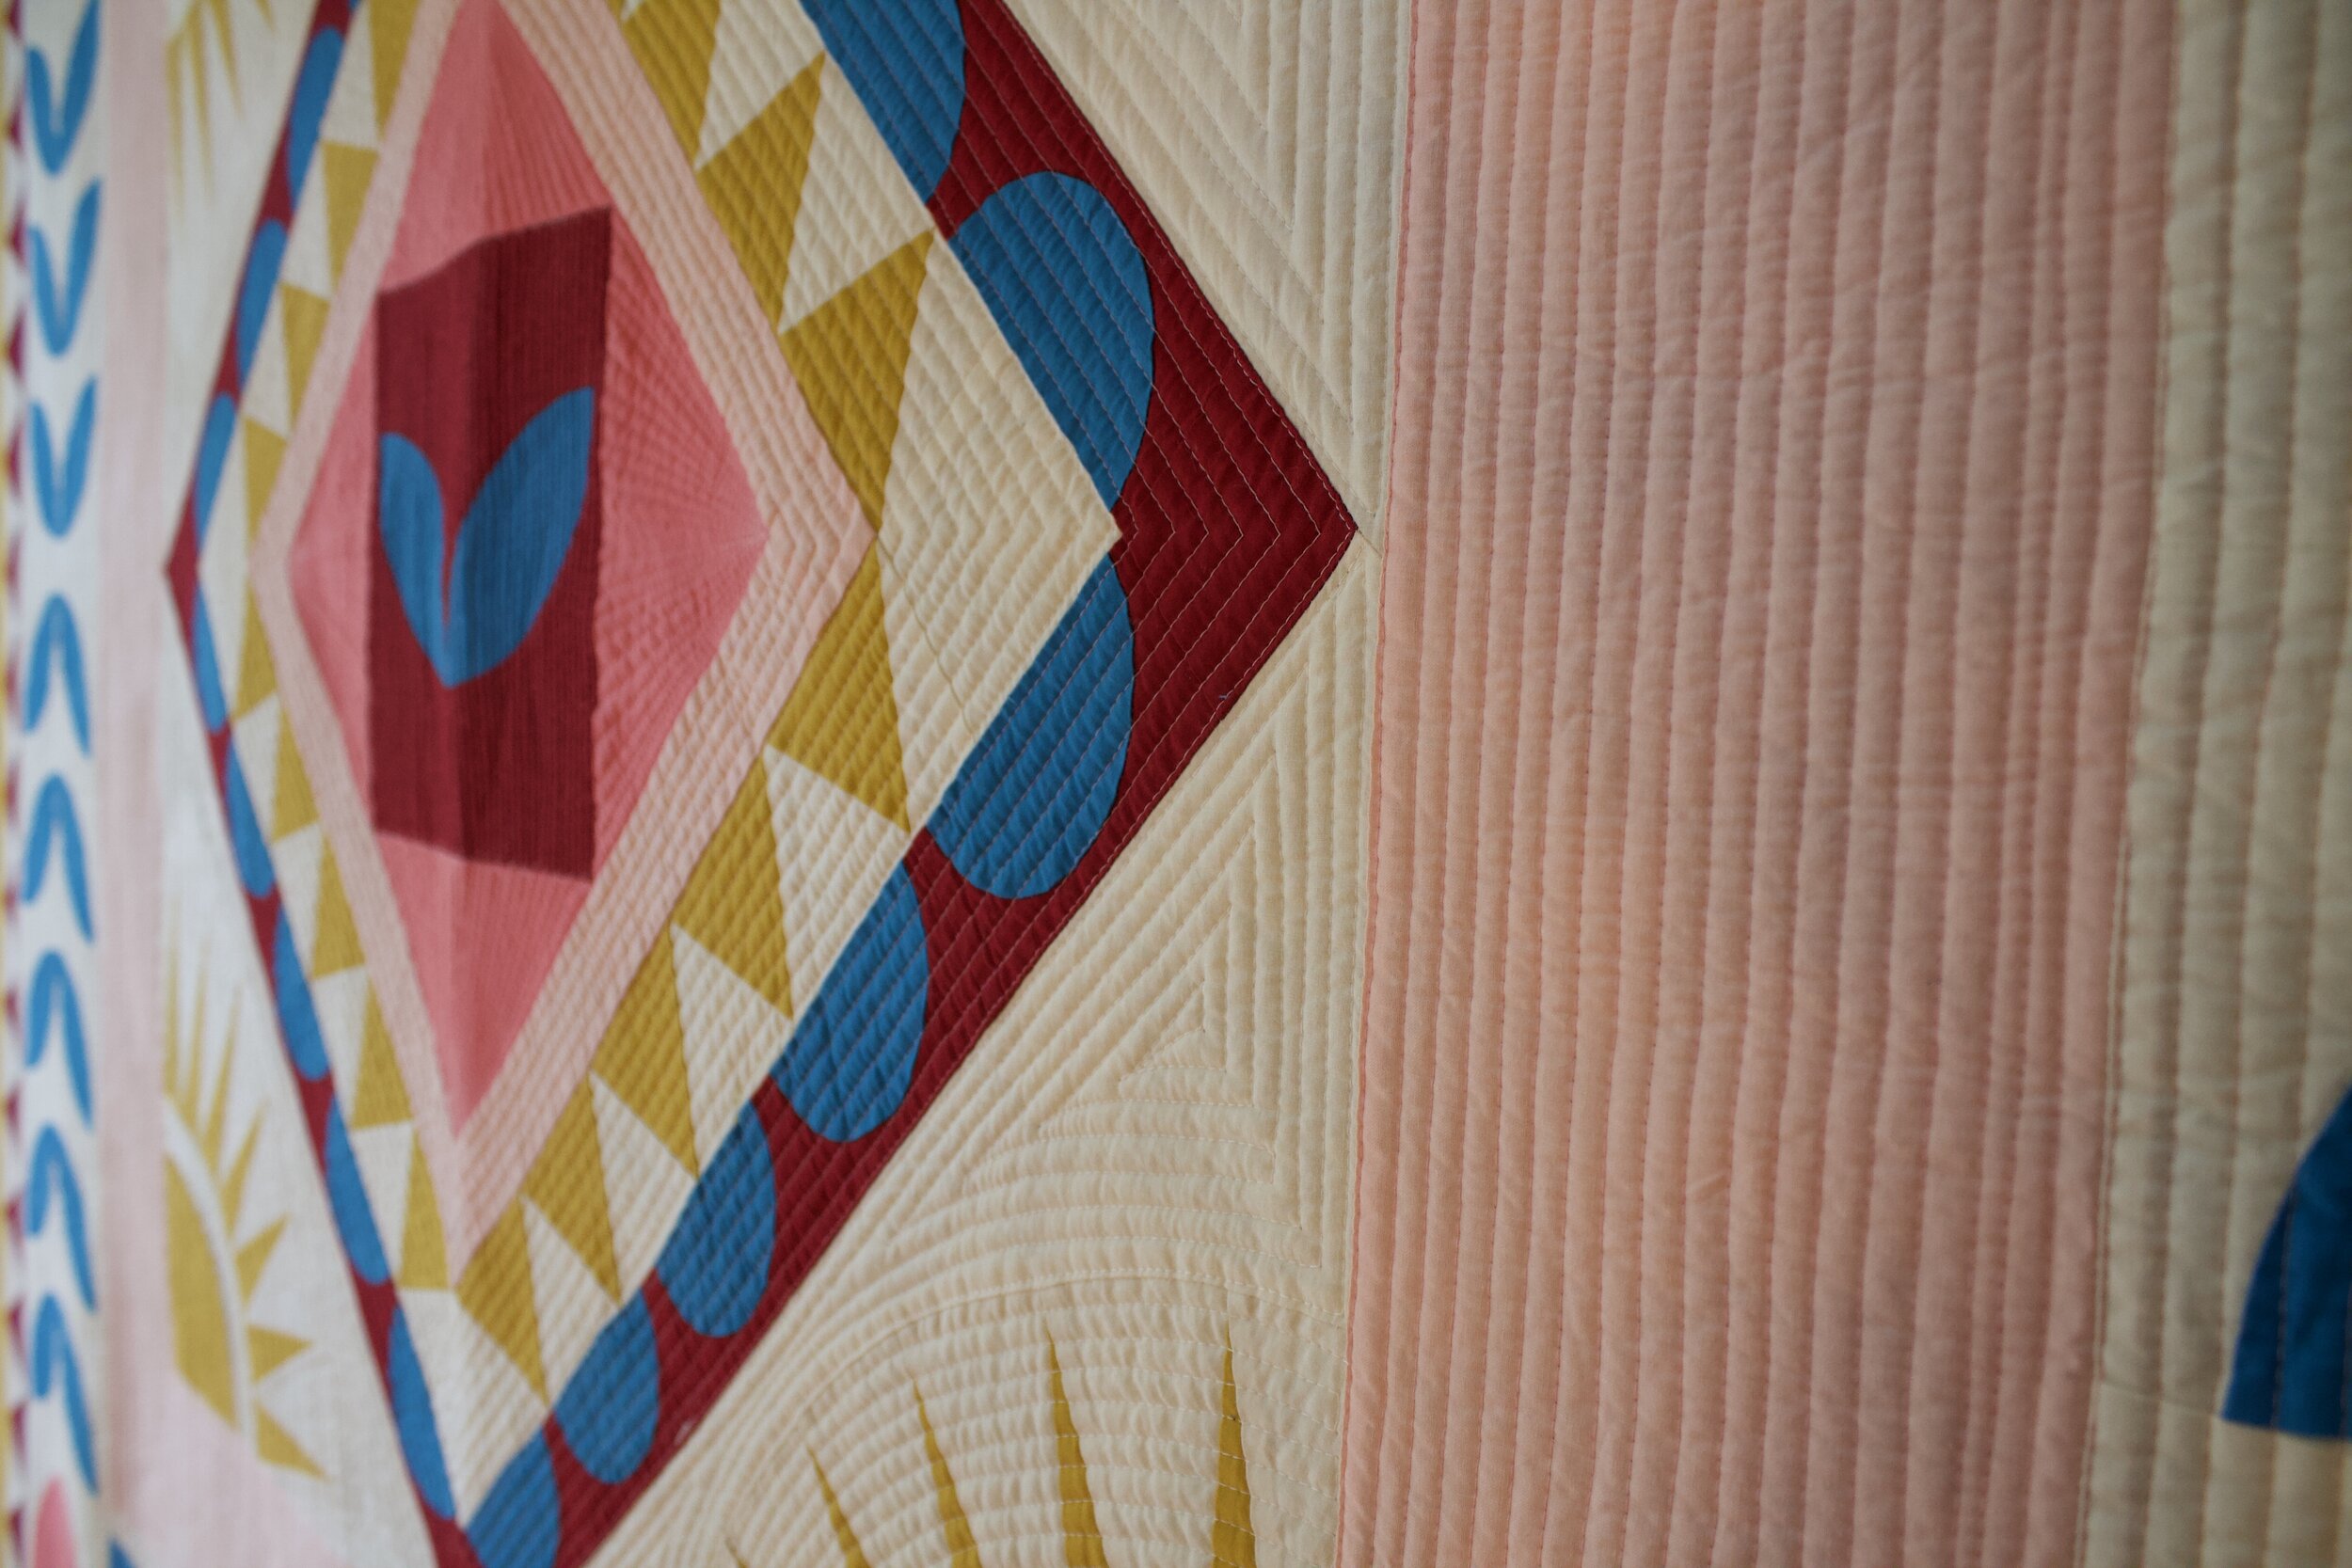
My Gold Medal pattern uses freezer paper piecing for the equilateral triangles and the New York Beauty corners. Of course, you can use regular paper piecing, but I hope these tips convince you to give freezer paper a try!